Sand and cement render, a renowned technique for exterior wall finishing and renovation, involves a mixture of sand, cement, and water.
This blend of render is applied evenly in a thick layer onto the wall’s surface and left to dry, resulting in a sturdy and aesthetically pleasing finish.
It is commonly employed on brick, concrete, or stone walls, with application methods including manual or mechanical processes. Achieving a professional finish requires precision in mixing ratios, even application, and adequate drying time.
What Is Sand and Cement Render?
Sand and cement render is an exterior wall finish created from a blend of sand, cement, and water. It is commonly used to provide protection and aesthetics to brick, stone, or concrete walls.
Sand and cement render offer versatility, accommodating a range of styles from traditional to modern. While it is durable, it may not match the flexibility and modern features of other render types like K render.
Process for Sand And Cement Rendering
The process of sand and cement render encompasses the following stages:
1. Preparation Before commencing rendering, thorough preparation is crucial. This entails removing loose or damaged mortar or render and eliminating dirt, dust, or debris. Repairing wall cracks or applying a bonding agent for improved adhesion may also be necessary.
2. Mixing the Render Sand and cement render is produced by meticulously combining sand, cement, and water in specific ratios tailored to the wall type and intended usage. Precise measurement and thorough mixing are essential for consistency.
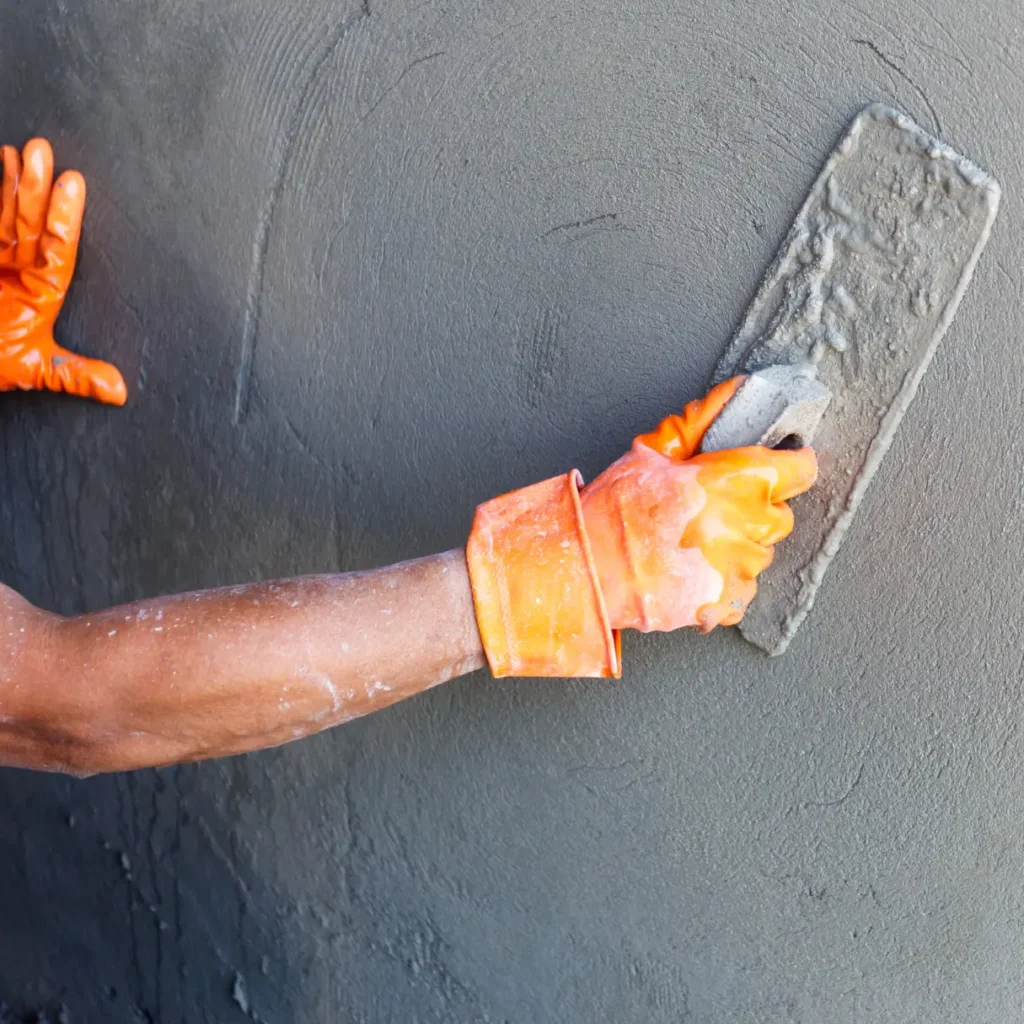
3. Applying the Render The render is applied onto the wall using a trowel or a rendering machine. Application should start from the wall’s bottom and progress upwards. After the initial layer, it is advisable to let it set for a few hours before applying a second coat.
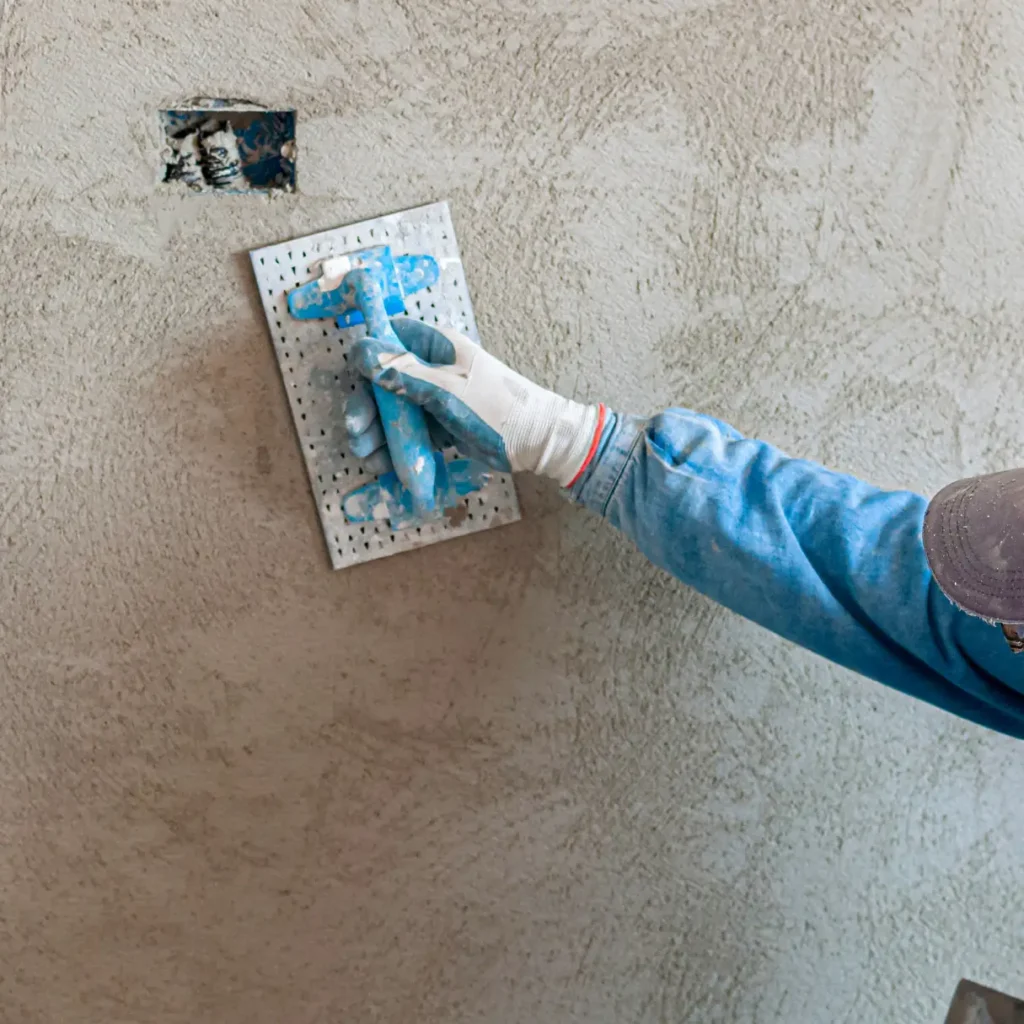
4. Finishing the Render After the second layer is applied, the render should be finished to achieve a smooth and even surface. This may involve using a float or trowel to remove any rough patches or create a textured finish. Subsequently, the render must dry and set for at least 24 hours, with extended drying times in damp or humid conditions.
5. Painting or Decorating Once the render is fully dry and set, it can be painted or decorated to match the building’s aesthetics. Appropriate exterior-grade paint or decoration materials should be used.
It is essential to adhere to the manufacturer’s instructions and take safety precautions when working with sand and cement render, as it can be physically demanding and involve heavy or hazardous materials. If uncertainties arise during the process, consulting a professional builder or render specialist is recommended.
Other Types of Render
Besides sand and cement render, several other rendering methods are available, including:
Lime Mortar
Lime mortar render is a traditional option made from lime, sand, and water. It is renowned for its breathability and compatibility with historic buildings, providing a flexible and durable finish.
Silicone Render
Silicone render incorporates silicone resin into the mix, offering high water repellency and flexibility. It is suitable for various substrates and is valued for its low maintenance requirements.
Acrylic Render
Acrylic render contains acrylic polymers, providing excellent durability, weather resistance, and color retention. It is often chosen for its versatility and modern appearance.
Lime Plaster
Lime plaster is similar to lime mortar but is typically used for interior applications. It is breathable and contributes to a healthy indoor environment.
The selection of the most suitable render type depends on factors such as wall type, desired finish, and environmental conditions. Consultation with a professional is advisable to make an informed choice.
K Render or Sand and Cement
K render and sand and cement render are two distinct exterior wall finishing techniques used in construction.
K Render
K render is a modern option comprising Portland cement, sand, and a polymer-based admixture. It is known for its strength, durability, and versatility, suitable for various surfaces and providing weatherproofing.
To work out how much K render You need why not use our K Rend Calculator
Sand and Cement Render
Sand and cement render, on the other hand, is a traditional method consisting of sand, cement, and water. It is a cost-effective option often used for repairing existing render or achieving a classic finish.
To calculate how much cement render to mix use our Sand and cement rendering calculator
Choosing between K render and sand and cement render depends on factors such as wall type, intended use, and desired appearance. Seeking professional guidance is essential when making this decision.
How to Paint Sand and Cement Render
Painting sand and cement render involves several steps:
1. Clean the Surface Before painting, thoroughly clean the render surface, removing dirt, dust, or debris. Allow it to dry completely.
2. Repair any Cracks or Gaps Address any cracks or gaps with a suitable filler and ensure it dries completely.
3. Prime the Surface Apply a thin, even coat of a suitable primer designed for sand and cement render. Let it dry fully before painting.
4. Apply Paint Use exterior-grade paint suitable for sand and cement render. Apply a thin, even coat in sections, starting from the top and working downwards.
5. Repeat Depending on the paint type and desired finish, multiple coats may be required. Allow each coat to dry completely before proceeding.
Always adhere to the manufacturer’s instructions and take safety precautions when painting sand and cement render. Consultation with a professional builder or painting specialist is advisable if uncertainties arise.
Benefits of Sand and Cement Render
Sand and cement render offer several advantages:
1. Durability. Sand and cement render provides a robust, long-lasting exterior finish capable of withstanding harsh weather conditions.
2. Cost-Effective. It is a budget-friendly choice for homeowners and builders seeking cost-effective wall finishing solutions.
3. Versatility. Sand and cement render can be applied to various surfaces, offering versatility in achieving different aesthetic looks.
4. Easy Application. The application process, whether manual or mechanical, is straightforward. Maintenance and repairs are also relatively simple if needed.
5. Improved Appearance. Sand and cement render can enhance a building’s appearance, providing a uniform finish that can be further customized with paint or tint.
6. Weather Protection. It serves as a protective barrier against elements like rain, wind, and sun, safeguarding the underlying wall and interior from damage.
However, sand and cement render may not be suitable for structures in areas with extreme weather conditions. Professional advice should be sought before selecting it as a finish.
Drying Time of Sand and Cement Render
The drying time of sand and cement render varies based on factors like weather conditions, render thickness, and cement type. Typically, it takes 24 to 72 hours for sand and cement render to fully dry.
To ensure proper drying, even if the surface appears dry to the touch, it is recommended to wait at least 24 hours before applying a second coat, painting, or decorating. Protection from rain, wind, and sunlight during drying is crucial for an even and crack-free surface.
Drying times can vary in hot and dry versus humid or wet conditions, so consulting a professional for specific guidance is prudent.
Common Problems with Sand and Cement Render
Common issues associated with sand and cement render include:
1. Cracking Cracks can occur due to improper application, insufficient surface preparation, or external factors such as thermal or ground movement.
2. Shrinkage Shrinkage can result from overly dry mixes or incorrect application techniques.
3. Efflorescence Efflorescence, a white, powdery substance, is often caused by salts leaching out of the mortar and may signal moisture-related problems.
4. Discoloration Over time, sand and cement render may discolor due to exposure to harsh conditions or incorrect paint choices.
5. Poor Adhesion Improper surface preparation or mixing can lead to inadequate adhesion, resulting in peeling or flaking.
6. Chalking Chalking occurs when the surface becomes powdery, typically due to weathering or harsh conditions.
To mitigate these issues, employ appropriate materials, adhere to application procedures, and consult a professional for guidance. Regular maintenance and prompt repair of damage are crucial for preserving the render’s integrity.
Tips for Working with Sand and Cement Render
When working with sand and cement render, consider these tips:
Preparation
Ensure the surface is clean, dry, and free from loose materials before rendering. Address cracks and gaps as necessary.
Mixing
Follow recommended ratios to achieve the correct consistency when mixing sand and cement. Avoid excessively dry or wet mixes.
Application
Apply the render in thin, even coats, working it into the surface. Use a straight edge for leveling and air bubble removal.
Drying
Allow the render to dry completely before applying subsequent coats or initiating painting and decorating. Protect the render from adverse weather during drying.
Finishing
Finish the render using a trowel or float to attain a smooth, even surface. Sanding may be required to eliminate rough edges.
Painting
If desired, use high-quality exterior paint suitable for sand and cement render. Follow manufacturer instructions for the best results.
Maintenance
Regular cleaning and maintenance are essential to preserve the render’s appearance and protection. Promptly address any cracks or damage.
By adhering to these guidelines and seeking professional advice, you can ensure the proper application and longevity of your sand and cement render.
What is the best mix Ratio for sand and cement Render?
The best mix ratio for sand and cement rendering is 1:1:6 one part cement, one part lime and six parts Sand. Ideally your sand ratio should be 3:3 three parts silver sand and three parts grit sand.
What tools do I need for sand and cement rendering?
When undertaking a sand and cement rendering project, you’ll need a variety of tools to ensure a successful and professional-looking finish. Here’s a list of essential tools for cement rendering:
- Hawk: A hawk is a flat, square board with a handle underneath. It is used to hold and carry the wet render material while you work on the wall.
- Trowels: Trowels come in various sizes and shapes, but the most commonly used for rendering are the finishing trowel and the pointing trowel. The finishing trowel is used for smoothing and leveling the render, while the pointing trowel is handy for small, detailed work.
- Float: A float is a flat, rectangular tool with a handle used to create a smooth finish on the render. There are different types of floats, including wooden floats and plastic floats.
- Screed: A screed is a straight edge tool, often made of metal or aluminum, used to level the render and create a flat surface. It helps ensure that the render is applied evenly across the wall.
- Bucket and Mixing Tools: You’ll need buckets for mixing the render material, as well as a mixing drill with a paddle attachment or a hoe for mixing the render mixture thoroughly.
- Spray Gun or Hose: If you’re working on a larger project, a spray gun or hose can help you apply the initial coat of render more quickly and evenly.
- Corner Tools: Corner tools, such as corner trowels or corner floats, are essential for finishing the corners of walls neatly and precisely.
- Scaffolding or Ladders: Depending on the height of the wall, you may need scaffolding or ladders to reach higher areas safely.
- Safety Gear: Safety should always be a priority. Wear protective gear, including safety glasses, a dust mask, gloves, and suitable clothing to shield yourself from splashes and dust.
- Straight Edge: A straight edge or a level helps you ensure that the render is applied in a straight line and maintains the desired thickness.
- Brushes and Brooms: These are useful for cleaning the wall surface before rendering and for removing excess render or creating a textured finish.
- Sponge and Water: A damp sponge is handy for smoothing the surface and removing imperfections in the render. Keep a bucket of clean water nearby for cleaning tools and adjusting the texture as needed.
- Screws and Washers: If you’re using mesh or lath as part of your rendering process, you’ll need screws and washers to secure it to the wall.
- Plastic Sheeting or Drop Cloths: To protect the surrounding area from render splashes and spills, lay down plastic sheeting or drop cloths.
- Spirit Level: A spirit level helps ensure that your render is applied evenly and that walls are plumb and level.
- Caulking Gun: If you need to fill gaps or joints, a caulking gun can be helpful for applying caulking or sealant.
- Utility Knife: Use a utility knife for cutting and shaping the render as needed.
Having the right tools and equipment on hand can make your cement rendering project smoother and more efficient while helping you achieve a high-quality finish. Always prioritize safety and proper technique when working with these tools.
Conclusion
Sand and cement render is a cost-effective, durable, and low-maintenance option for exterior wall finishes. When applied correctly, it results in a smooth, attractive surface that offers protection from the elements. However, meticulous attention to material selection, application processes, and professional consultation is vital to achieve optimal results. Regular maintenance and care further contribute to the render’s durability and aesthetics.
In summary, sand and cement render represent a versatile and dependable choice for enhancing wall exteriors. Employing best practices and expert guidance ensures its durability and long-lasting appeal.
Author Profile

- I have many qualifications and certificates in construction, such as City & Guilds, CPCS and CITB. These are the highest standards of training and competence in the industry. Whether you need help with plumbing, carpentry, bricklaying or any other trade, I’m here to help you succeed.
Latest entries
- March 6, 2024CalculatorsWall Tile Calculator: How Many Wall Tiles Do You Need
- February 29, 2024Roof Truss Cost Calculator
- December 31, 2023Wage Take Home Calculator
- December 30, 2023Day Rate Calculator


