Tarmac driveway repairs, providing you with valuable information on how to identify signs of damage, the tools and materials needed for repairs, and a step-by-step guide to help you restore your driveway to its former glory.
A well-maintained driveway is not only essential for the curb appeal of your property, but it also ensures the safety and functionality of your outdoor space.
Over time, harsh weather conditions, constant use, and general wear and tear can take a toll on your driveway, leading to the need for repairs.
One of the most common materials used for driveways is tarmac which is known for its durability and cost-effectiveness.
However, even tarmac driveways need regular maintenance and occasional tarmac repairs to keep them in optimal condition.
By the end of this article, you’ll have a better understanding of the importance of maintaining your tarmac driveway and the knowledge to perform repairs effectively.
Signs Your Tarmac Driveway Needs Repair
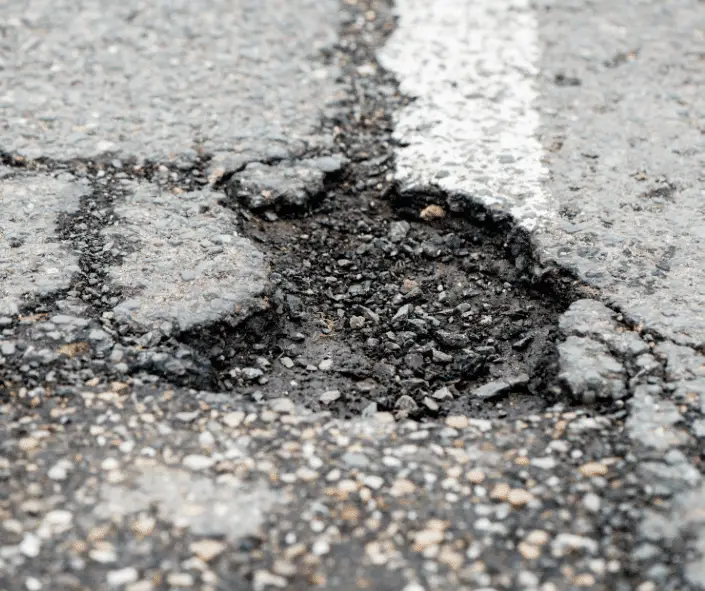
A well-maintained tarmac driveway can last for decades, but it’s essential to identify and address issues as they arise. Here are some common signs that your tarmac driveway needs repair:
Cracks and potholes
Cracks and potholes are some of the most apparent indicators that your tarmac driveway needs repair.
Small cracks can eventually develop into larger ones, and potholes can cause damage to your vehicle and pose a safety hazard.
It’s crucial to address these issues early to prevent further deterioration of your driveway.
Faded color and loss of texture
Over time, UV exposure and other environmental factors can cause the color of your tarmac driveway to fade, giving it a worn-out appearance.
A faded driveway may also lose its texture, making it more prone to slipping when wet.
Repairing and resealing the surface can restore the original color and texture, improving its appearance and safety.
Water pooling and drainage issues
Proper drainage is vital for the longevity of your tarmac driveway.
If you notice water pooling on the surface or it takes a long time to dry after rain, this may indicate drainage issues.
Poor drainage can lead to further damage, such as cracking and potholes, so it’s essential to address these problems promptly.
Edge deterioration
The edges of your tarmac driveway are more susceptible to wear and tear due to their exposure to the elements and potential damage from vehicles driving on or off the driveway.
If you notice crumbling or a loss of structural integrity along the edges, it’s time to repair the affected areas and consider adding an edging material, such as bricks or pavers, to provide extra support and protection.
Tools and Materials Needed for Tarmac Driveway Repair
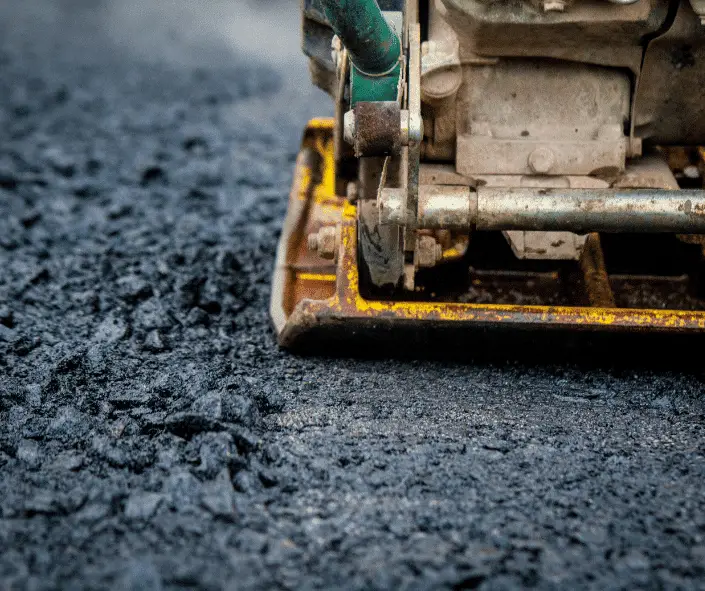
To effectively repair your tarmac driveway, you’ll need the right tools and materials. Here’s a list of items you should have on hand before starting your repair project:
Tarmac repair products
- Cold lay repair tarmac: A ready-to-use asphalt mix that’s ideal for filling small potholes and cracks.
- Type 1 Mot: Sub-base for under the tarmac to give the surface some stability.
- Tarmac sealer: A liquid sealant used to restore the color and texture of your driveway, as well as protect it from water, UV rays, and other damaging elements.
How many bags of MOT Type 1 do I need?
You will need to measure the hole Depth X Width X Length X 1.6 + 25. Or you can use our mot type 1 calculator
Tools
- Shovel: To remove loose and damaged tarmac, as well as to apply the cold lay patch.
- Broom: To sweep the area clean of debris before repairing and sealing.
- Tamper: To compact the cold lay patch after application, ensuring a level and stable surface.
- Squeegee or roller: To evenly spread the tarmac sealer across the surface of your driveway.
- Bucket or mixing container: To mix the tarmac sealer, if required.
- Trowel or putty knife: To fill and smooth small cracks with the appropriate repair product.
Safety gear
- Gloves: To protect your hands from the chemicals in tarmac repair products and potential injury while working.
- Safety goggles: To shield your eyes from debris and chemicals while repairing and sealing your driveway.
- Protective clothing: To avoid staining your clothes with tarmac repair products and protect your skin from potential irritants.
- Sturdy footwear: To ensure a firm grip on the ground and prevent slipping while working on your driveway.
Step-by-Step Guide to Repairing Your Tarmac Driveway
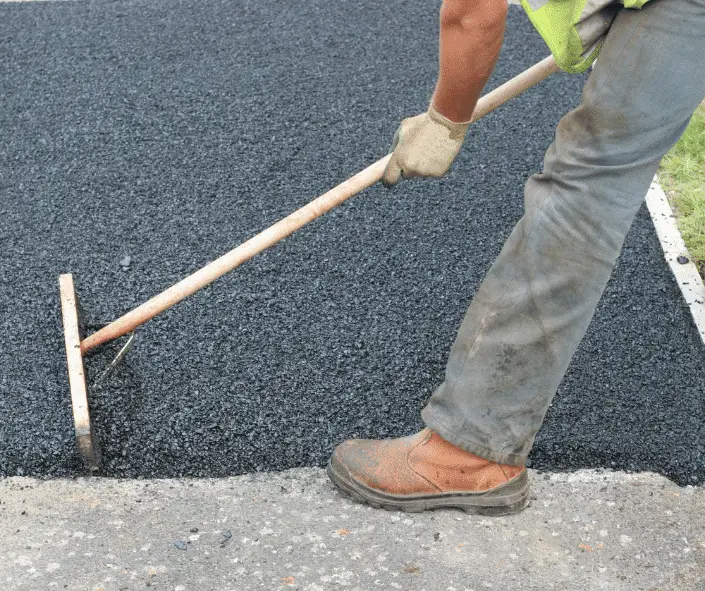
Follow this step-by-step guide to repair your tarmac driveway effectively
How To Repair Your Drive
A. Assess the damage and select the appropriate repair method
- Inspect your driveway for signs of damage, such as cracks, potholes, fading, and edge deterioration.
- Determine the severity of the damage to choose the right repair method and products.
B. Prepare the damaged area
- Clean and remove debris: a. Sweep the entire driveway with a broom, focusing on the damaged areas. b. Remove any dirt, leaves, or other debris that could interfere with the repair process.
- Remove loose and damaged tarmac: a. Use a shovel or pickaxe to remove any loose or damaged tarmac from cracks and potholes. b. Ensure that the remaining tarmac around the damaged area is stable and well-adhered.
C. Repair cracks and potholes
- Apply the tarmac repair product: a. For small cracks, use a trowel or putty knife to apply a crack filler. b. For potholes and larger cracks, fill the damaged area with cold lay patch material, slightly overfilling to allow for compaction.
- Compact and level the repaired area: a. Use a tamper or the back of a shovel to compact the cold lay patch, ensuring a level and stable surface. b. Allow the repaired area to cure according to the product’s instructions, typically 24-48 hours.
D. Reseal the entire driveway
- Apply tarmac sealer: a. Mix the tarmac sealer according to the manufacturer’s instructions, if required. b. Using a squeegee or roller, apply a thin and even coat of sealer across the entire driveway, taking care to cover the repaired areas. c. Apply a second coat if recommended by the manufacturer.
- Allow to dry and cure: a. Let the sealer dry for the time specified by the manufacturer, typically 24-48 hours, before using the driveway. b. Keep vehicles and foot traffic off the driveway during the curing process to ensure a durable and long-lasting finish.
Tips for Maintaining Your Tarmac Driveway
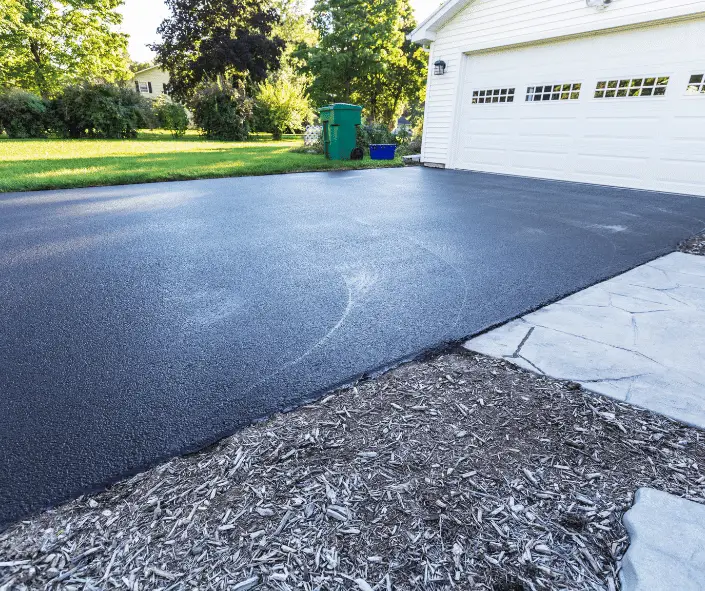
Proper maintenance is key to prolonging the life of your tarmac driveway and preventing costly repairs. Here are some tips to help you maintain your driveway effectively:
A. Regular cleaning and inspection
- Sweep your driveway regularly to remove dirt, leaves, and other debris that can accumulate and cause damage over time.
- Inspect your driveway periodically for signs of wear and tear, such as cracks, potholes, and fading.
- Schedule a thorough cleaning at least once a year, using a pressure washer or a garden hose with a high-pressure nozzle to remove built-up dirt and grime.
B. Address minor issues promptly
- Fix small cracks and potholes as soon as you notice them to prevent them from expanding and causing more extensive damage.
- Keep an eye on the edges of your driveway and address any signs of deterioration, such as crumbling or loss of structural integrity.
C. Proper drainage management
- Ensure that your driveway has a slight slope or crown to facilitate proper drainage and prevent water from pooling on the surface.
- Regularly clean and maintain any drainage systems, such as gutters and downspouts, to prevent water from overflowing onto your driveway.
- Consider installing a French drain or trench drain if you experience persistent drainage issues.
D. Sealcoating every few years
- Apply a high-quality tarmac sealer to your driveway every 3-5 years to protect it from water, UV rays, and other damaging elements.
- Regular sealcoating can also help restore the color and texture of your driveway, giving it a fresh appearance and improving its slip resistance.
By following these maintenance tips, you can extend the life of your tarmac driveway and keep it looking attractive and functioning well for years to come.
When to Consider a Professional for Tarmac Driveway Repair

While minor repairs can often be handled by homeowners, there are instances when it’s best to call in a professional for tarmac driveway repair. Here’s how to determine if you need expert help:
Use the Driveway Cost Calculator and work out how much a new driveway would cost
We now have a Tarmac Driveway Calculator
A. Assessing the severity of the damage
- Large or deep cracks and potholes that extend beyond the surface layer of the tarmac may require a more extensive repair process or even a complete resurfacing, which is best handled by professionals.
- If your driveway has widespread damage or has reached the end of its lifespan (typically around 20-30 years), a professional contractor can help you determine if a full replacement is necessary.
B. The benefits of hiring a professional
- Expertise: A professional contractor has the experience and knowledge to repair your tarmac driveway effectively and efficiently, ensuring long-lasting results.
- Proper equipment: Professionals have access to commercial-grade tools and materials, which can lead to a higher quality repair job.
- Time and effort: Hiring a professional saves you the time and effort of attempting to repair the driveway yourself, especially for more extensive damages.
- Warranty: Many professional contractors offer warranties on their work, providing you with peace of mind and protection against future issues.
C. How to choose the right contractor
- Research: Look for local contractors with a strong reputation and positive reviews from previous clients.
- Licensing and insurance: Verify that the contractor is licensed and insured to work in your area.
- Experience: Choose a contractor with a proven track record of working with tarmac driveways and who is knowledgeable about the specific repair techniques required.
- Get multiple quotes: Obtain at least three quotes from different contractors to compare prices, services, and materials offered.
- Communication: Choose a contractor who communicates effectively, listens to your concerns, and is transparent about the repair process and costs.
By considering these factors, you can determine when it’s best to hire a professional for your tarmac driveway repair and ensure that you’re choosing the right contractor for the job.
Conclusion
Like any other surface, tarmac driveways require regular maintenance and repair to ensure their longevity and optimal performance.
Proper care includes addressing cracks, potholes, and drainage issues, as well as regular cleaning and inspection.
By attending to these issues promptly, you can help preserve the appearance and functionality of your tarmac driveway and avoid costly replacement.
Taking the time to maintain your tarmac driveway not only extends its lifespan but also enhances your property’s curb appeal.
By following the outlined steps in this article and referring to helpful resources you can tackle minor tarmac repairs and maintenance tasks yourself.
For more extensive damages or when in doubt, consult a professional contractor to ensure the job is done correctly and to a high standard.
By taking action now, you can enjoy a functional, attractive driveway for years to come.
Author Profile

- I have many qualifications and certificates in construction, such as City & Guilds, CPCS and CITB. These are the highest standards of training and competence in the industry. Whether you need help with plumbing, carpentry, bricklaying or any other trade, I’m here to help you succeed.
Latest entries
- March 6, 2024CalculatorsWall Tile Calculator: How Many Wall Tiles Do You Need
- February 29, 2024Roof Truss Cost Calculator
- December 31, 2023Wage Take Home Calculator
- December 30, 2023Day Rate Calculator

