Lime rendering is an age-old technique with roots deeply embedded in the history of construction, has experienced a resurgence in modern architecture. Its unique properties make it a sustainable and versatile choice for rendering surfaces, adding both aesthetic appeal and durability to structures. In this article, we’ll delve into the art of lime rendering, exploring its types, advantages, application process, and much more.
What is Lime Rendering?
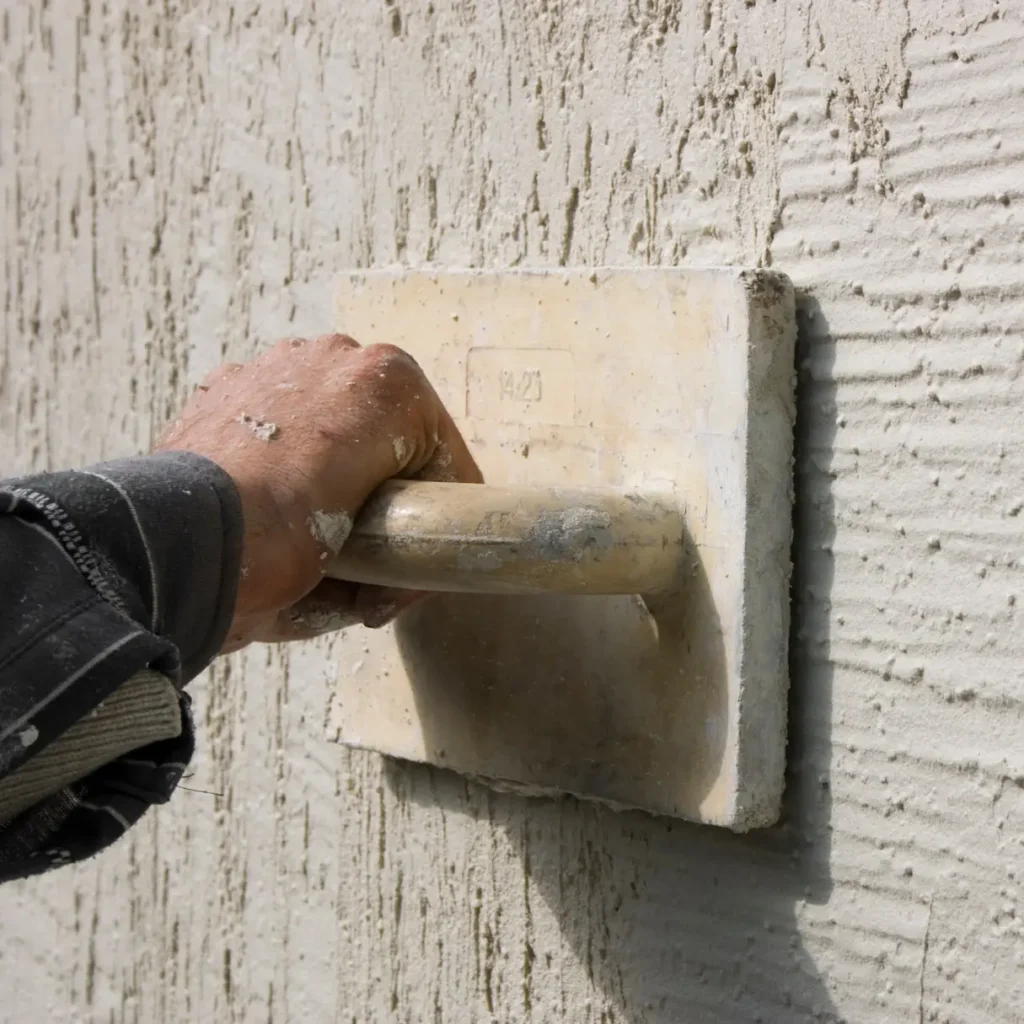
Lime rendering is a construction technique that entails the application of a mixture primarily composed of lime to various surfaces, transforming them into both protective and aesthetically pleasing finishes.

Type of Lime Used in Render
Before embarking on a lime render project, it’s crucial to understand the different types of lime available. Quicklime and hydrated lime are the primary options, each with its unique characteristics. The choice between them can significantly impact the outcome of the rendering process, making it imperative to make informed decisions.
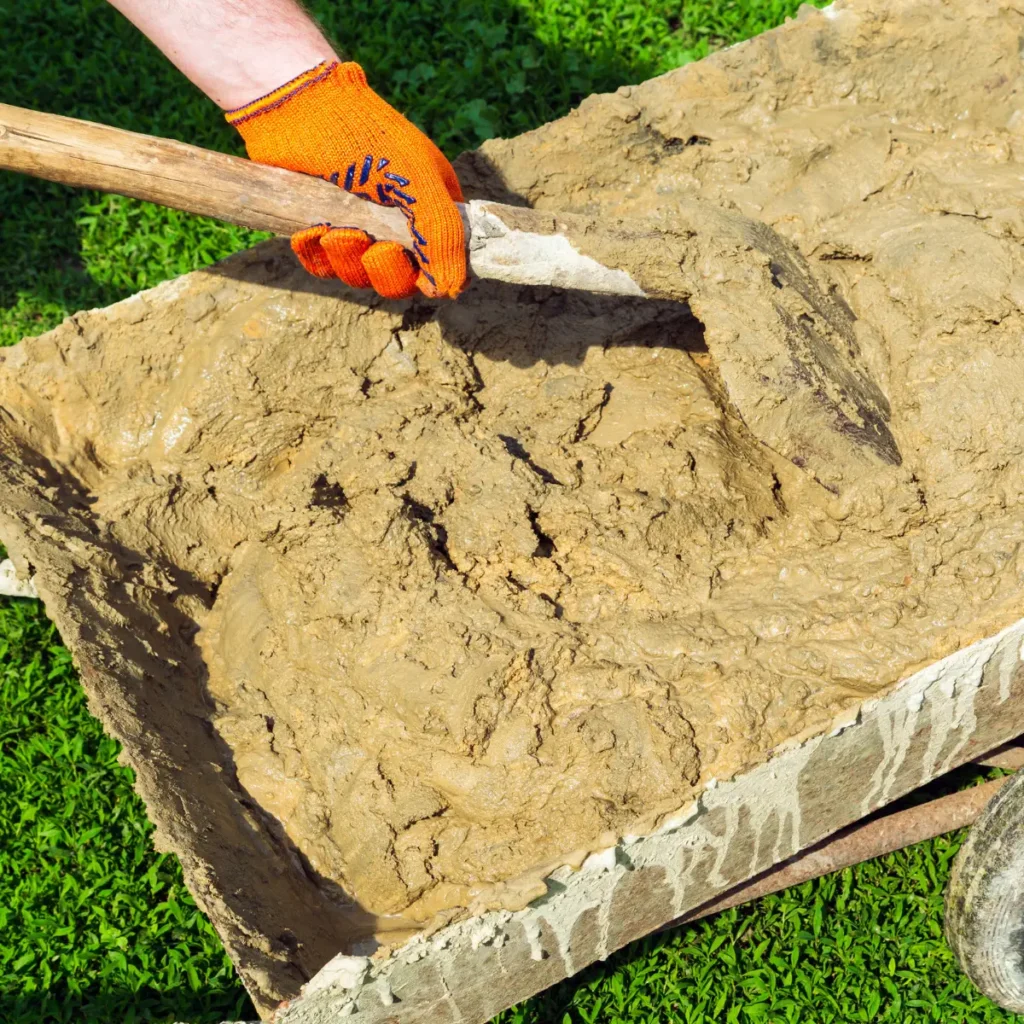
- Quicklime: Quicklime, or calcium oxide, is produced by heating limestone at high temperatures. When water is added to quicklime, a chemical reaction occurs, releasing heat and converting it to calcium hydroxide. This process, known as slaking, creates a versatile lime putty that can be mixed with sand for rendering.
- Hydrated Lime: Hydrated lime, or calcium hydroxide, is derived from quicklime by adding water. This results in a powder that can be mixed with sand for rendering. Hydrated lime is often preferred for its ease of use and reduced risk of causing burns during the mixing process compared to quicklime.
What are The Benefits of Lime Rendering?
The key benefits of lime render lies in its unparalleled durability and longevity. Unlike some modern alternatives, lime-rendered structures breathe, promoting healthier environments.
Benefits of lime rendering
- Breathability and Flexibility: Lime render allows walls to breathe, preventing moisture buildup and promoting a healthier indoor environment. The inherent flexibility of lime mortar also ensures resistance to cracks, enhancing the longevity of your structure. This breathability is particularly crucial in older buildings where trapping moisture can lead to issues such as dampness and decay.
- Eco-Friendly Construction: Opting for lime rendering aligns with sustainable building practices. Lime is a natural material that has minimal environmental impact, making it an eco-friendly choice for conscientious builders. Additionally, lime absorbs carbon dioxide as it cures, contributing to a reduced carbon footprint in the long run.
- Historical Significance: Embrace tradition by choosing lime rendering, a method deeply rooted in history. Many historical structures showcase the enduring beauty and durability of lime-rendered walls, standing as a testament to its timeless appeal. Preserving this historical significance adds character and authenticity to both new and renovated structures.
Lime render not only provides durability and longevity but also contributes to a healthier environment and aligns with sustainable building practices. Embracing lime rendering allows for a harmonious blend of tradition and modernity in construction, creating structures that stand the test of time.
The Lime Rendering Process
Success in lime rendering hinges on meticulous preparation and application. Surface preparation, the correct mixture of lime plaster, and employing suitable application techniques are critical steps that demand attention to detail. Let’s navigate through the process, ensuring a comprehensive understanding for both beginners and seasoned practitioners.
Preparing the Surface
In the lime rendering process, the preparation of the surface is a pivotal stage that significantly influences the success and longevity of the final result. A well-prepared surface ensures proper adhesion, minimizes the risk of defects, and contributes to the overall durability of the lime render.
1. Cleaning the Surface: Before applying lime render, it is imperative to start with a clean surface. Remove any loose debris, dust, or contaminants that could hinder the bonding of the lime plaster. Pressure washing or brushing the surface aids in achieving a substrate free from impurities.
2. Repairing Defects: Addressing any existing defects on the surface is crucial for a flawless lime rendering job. Repair cracks, holes, or damaged areas using suitable repair materials. This step not only improves the structural integrity of the substrate but also ensures an even application of the lime render.
3. Application of Primer: Applying a primer serves as a key preparatory step to enhance the adhesion of the lime render. The primer creates a bond between the substrate and the lime plaster, promoting a more robust and long-lasting finish. The choice of primer may vary based on the type of substrate and the specific lime render system being employed.
4. Moistening the Substrate: In certain circumstances, particularly with highly absorbent surfaces, moistening the substrate before applying lime render can enhance adhesion. However, it’s crucial to strike the right balance, avoiding excessive moisture that could compromise the curing process of the lime plaster.
5. Checking Compatibility: Ensure that the surface and the substrate are compatible with lime render. Some surfaces may require additional treatments or primers to ensure proper bonding. Understanding the characteristics of the substrate is essential for a successful rendering application.
By meticulously preparing the surface, lime render practitioners create a solid foundation for the subsequent stages of the rendering process. This attention to detail not only contributes to the aesthetic appeal of the final finish but also ensures the structural integrity and longevity of lime-rendered surfaces.
Mixing the Lime Mortar
In the lime rendering process, mastering the art of achieving the perfect lime mortar mix is a fundamental step that significantly impacts the durability and aesthetic appeal of the final render.
The correct proportion of lime, sand, and any additional additives is essential to create a mixture that not only adheres effectively but also contributes to a visually pleasing finish.

1. Proportions Matter: The success of lime rendering hinges on precision in mixing proportions. Achieving the right balance between lime and sand is crucial. The ratio varies based on factors such as the type of lime used, the substrate, and the desired finish. Typically, a common ratio involves blending lime with well-graded sharp sand to ensure both strength and workability.
2. Understanding Lime Characteristics: Whether quicklime or hydrated lime, each type has distinct characteristics that influence the mixing process. Quicklime, produced by heating limestone, requires careful slaking with water to create a lime putty. On the other hand, hydrated lime, derived from quicklime through hydration, is often available as a powder. Understanding these characteristics is vital for determining the appropriate mixing method and ratio.
3. Consistency and Workability: Achieving a consistent and workable lime mortar mix is essential for ease of application. The mixture should be well-homogenized to avoid variations in texture and strength. Adjustments to the mix may be necessary based on environmental conditions, such as temperature and humidity, to maintain optimal workability during application.
4. Additional Additives: Depending on the specific requirements of the rendering project, additional additives may be incorporated into the lime mortar mix. These additives can enhance properties such as flexibility, water resistance, or curing time. Careful consideration of the project’s needs and the compatibility of additives with lime is vital for achieving the desired performance.
5. Trial Batches: Prior to full-scale application, it is advisable to conduct trial batches to assess the compatibility and workability of the lime mortar mix. This allows for adjustments to be made, ensuring that the final mixture aligns with the project’s specifications and goals.
Achieving the perfect lime mortar mix involves a delicate balance of ingredients, a deep understanding of lime characteristics, and meticulous attention to detail. The resulting mixture not only ensures the effective adherence of the lime render but also contributes to the longevity and aesthetic quality of the finished surface.
Application Process

Embarking on the application of lime render requires a systematic approach, combining precision and skill to achieve a flawless finish.
This section provides a step-by-step guide, outlining the tools and equipment needed for a successful application.
From mixing the lime mortar to attaining a smooth final finish, we’ve got you covered.
1. Prepare the Substrate: Ensure that the surface is well-prepared, cleaned, and primed. Address any defects and confirm the compatibility of the substrate with lime render. Moistening the substrate may be necessary, particularly for absorbent surfaces, to enhance adhesion.
2. Mix the Lime Mortar: Refer to the meticulously crafted lime mortar mix prepared in the previous step. Whether quicklime or hydrated lime, ensure the mixture is homogenous, consistent, and workable. Adjustments may be made based on environmental conditions to maintain optimal workability.
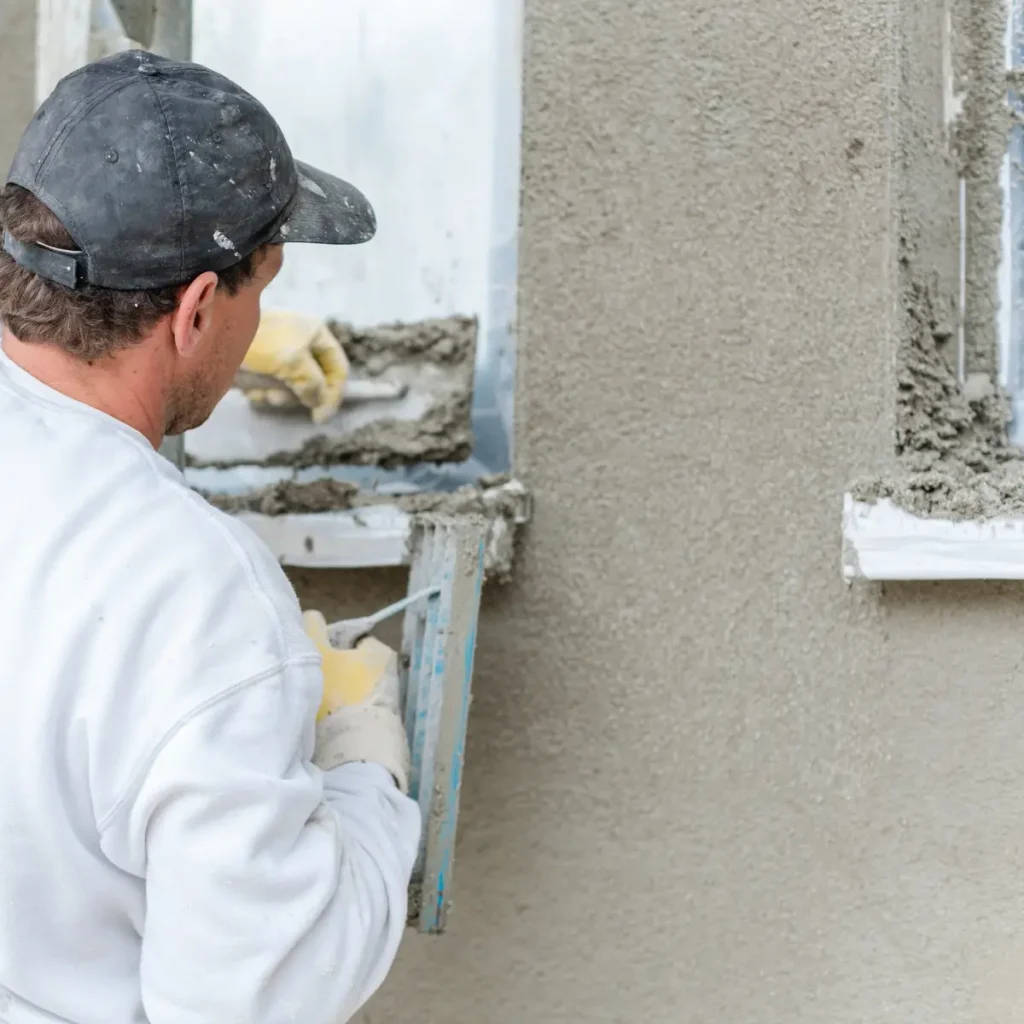
3. Application Tools: Select the appropriate tools for the application process. Common tools include a hawk and trowel for spreading the lime mortar, a float for achieving an even surface, and a sponge for refining the finish. The choice of tools may vary based on the desired texture and finish.
4. Apply the First Coat: Begin the application process by applying the first coat of lime render. Spread the mortar evenly over the substrate, ensuring a consistent thickness. The aim is to create a solid foundation for subsequent layers.
5. Allow for Curing: Allow the first coat to cure adequately before applying additional layers. Curing times may vary based on factors such as temperature and humidity. Patience during this phase contributes to the overall strength and durability of the lime render.
6. Apply Subsequent Coats: Depending on the desired thickness and finish, apply additional coats of lime render. Each layer should be allowed to cure before the next application. Use the appropriate tools to maintain consistency and achieve the desired texture.
7. Achieve the Final Finish: As the final coat is applied, focus on achieving the desired finish. Use a float or sponge to refine the surface texture. The choice of finish, whether smooth or textured, depends on the project requirements and aesthetic preferences.
8. Monitoring and Inspection: Regularly monitor the drying and curing process. Inspect the surface for any imperfections or areas that may require touch-ups. Address any issues promptly to ensure a flawless final result.
By following this step-by-step guide, practitioners can navigate the lime rendering application process with confidence. From surface preparation to achieving the final finish, attention to detail and the use of appropriate tools contribute to the success of the lime rendering project.
Mix Ratios in Lime Rendering
Achieving the optimal mix ratios is a critical aspect of lime rendering, influencing the strength, workability, and durability of the final finish. In this section, we delve into the essential considerations for lime mortar mix ratios, providing guidelines for creating a well-balanced and effective mixture.
Lime to Sand Ratio
The lime to sand ratio is a foundational element in lime mortar mixtures. Striking the right balance is crucial for ensuring both strength and workability. Common ratios include 1:3, indicating one part lime to three parts sand, and variations such as 1:2 for finer finishes. The choice depends on factors like the type of lime used, the substrate, and the desired texture.
Additives and Enhancements
Some lime mortar mixtures may incorporate additives to enhance specific properties. These can include fibers for added flexibility, pozzolans for improved strength, or pigments for color customization. When incorporating additives, it’s crucial to consider their compatibility with lime and adjust ratios accordingly.
Consistency and Workability
Achieving a consistent and workable mixture is vital for the application process. The lime mortar should be well-homogenized, free from lumps, and possess the desired texture. Adjustments may be necessary based on environmental conditions to maintain optimal workability during application.
Achieving the right mix ratios in lime rendering requires a nuanced understanding of lime types, sand proportions, and the impact of additives. Precise mixtures contribute to the success of the rendering process, ensuring a durable, aesthetically pleasing finish that stands the test of time.
Maintenance of Lime Rendered Surfaces
A well-executed lime rendering job is not only a testament to craftsmanship but can also stand the test of time with proper maintenance. Preserving lime-rendered surfaces involves understanding key considerations and implementing measures to ensure longevity. Here are essential tips for maintaining lime-rendered surfaces, along with guidance on repairs and touch-ups that may be required over time.
1. Regular Inspection: Conduct routine inspections of lime-rendered surfaces to identify any signs of wear, cracks, or damage. Early detection allows for timely intervention, preventing minor issues from escalating into more significant problems.
2. Cleaning and Preservation: Keep lime-rendered surfaces clean from dirt, debris, and organic matter. Gentle cleaning methods, such as using a soft brush or sponge with mild soap, help preserve the surface without causing damage. Avoid harsh chemicals that could compromise the lime render.
3. Addressing Cracks and Defects: If cracks or defects appear, address them promptly to prevent water ingress and further deterioration. Small cracks can be filled with a lime-based filler, matching the original mix as closely as possible. Larger defects may require more extensive repairs, involving the removal and replacement of damaged sections.
4. Reapplication of Lime Wash: Over time, the protective lime wash applied to lime-rendered surfaces may wear away. Reapply a breathable lime wash to maintain the protective layer and enhance the surface’s resistance to weathering. This also contributes to the overall aesthetic appeal of the lime render.
5. Understanding Environmental Impact: Consider the environmental conditions surrounding the structure. Lime-rendered surfaces in areas with high exposure to harsh weather or pollution may require more frequent maintenance. Adapting the maintenance schedule based on environmental factors ensures effective preservation.
6. Matching Materials: When conducting repairs or touch-ups, ensure that the materials used match the original lime render. Consistency in materials, including the lime mortar mix and pigments, is crucial for maintaining the integrity of the surface.
7. Expert Consultation: Seek the advice of lime rendering experts for more extensive repairs or if issues persist. Professionals can provide tailored solutions and ensure that repairs align with the specific characteristics of the lime-rendered surface.
8. Protective Measures: Implement protective measures to prevent damage. For example, consider installing guttering and downspouts to divert water away from lime-rendered walls. Proper drainage helps mitigate the risk of moisture-related issues.
By incorporating these considerations into a comprehensive maintenance plan, lime-rendered surfaces can retain their durability and aesthetic charm for decades. Regular care, timely repairs, and a proactive approach contribute to the sustained success of lime rendering, making it a reliable and enduring choice for architectural finishes.
Lime Render vs Cement Render
Choosing between lime render and cement render is a crucial decision in construction, influencing the aesthetic, durability, and environmental impact of a structure. In this section, we’ll explore the key differences between lime render and cement render, helping builders make informed decisions based on their project requirements.
Here’s a comparison table between lime render and cement render:
| Aspect | Lime Render | Cement Render |
|---|---|---|
| Composition | Lime, sand, and water | Cement, sand, and water |
| Breathability | Highly breathable, allows moisture to escape | Less breathable, may lead to moisture issues |
| Flexibility | Exhibits flexibility, resistant to cracking | More rigid, prone to cracking |
| Environmental Impact | Considered more environmentally friendly | Higher environmental footprint due to cement |
| Historical Preservation | Preferred for historical preservation projects | May not suit the requirements of older structures |
| Aesthetic Variability | Offers a wide range of aesthetic possibilities | Appearance is typically more uniform and rigid |
| Application and Workability | Known for workability and ease of application | May be less forgiving in terms of workability |
This table provides a concise overview of the key differences between lime render and cement render, helping builders make informed decisions based on their specific project needs.
The decision between lime rendering and traditional rendering materials should be made with a thorough understanding of the unique features each option brings. Lime render stands out for its breathability, eco-friendliness, historical significance, durability, and aesthetic versatility, making it an enduring choice for builders seeking both timeless appeal and modern sustainability.
Common Issues and Solutions in Lime Rendering
While lime rendering is a durable and versatile technique, certain common issues may arise over time. Understanding these challenges and their solutions is crucial for maintaining the integrity and aesthetic appeal of lime-rendered surfaces. Here, we address some typical issues encountered in lime rendering and provide practical solutions.
Cracking
Cracking can occur due to various factors such as substrate movement, insufficient curing time, or improper mix proportions. Solution: To address small cracks, use a lime-based filler that matches the original mix. For more extensive cracking, consider reinforcing with additional layers, ensuring proper curing between applications.
Efflorescence
Efflorescence, the appearance of white deposits on the surface, may result from the migration of soluble salts. Solution: Clean the affected area with a soft brush and water. Identify and address the source of water ingress to prevent further salt migration. Consider applying a breathable sealant to minimize moisture penetration.
Staining
Staining may occur due to environmental factors, organic matter, or incompatible materials. Solution: Gently clean stained areas with a soft brush and mild soap. Avoid harsh chemicals that may damage the lime render. Prevent staining by addressing the source, such as redirecting water runoff or eliminating plant debris.
Deterioration
Over time, lime render may deteriorate, especially in harsh weather conditions. Solution: Regularly inspect the surface for signs of wear and deterioration. Reapply a breathable lime wash to enhance protection. Address any defects promptly, considering repairs or additional coats if needed.
Color Fading
Color fading can occur due to exposure to sunlight and weathering. Solution: Choose lime render with lightfast pigments. Periodically apply breathable color washes to rejuvenate the appearance. Consider protective measures such as shade or overhangs to reduce direct sunlight exposure.
Biological Growth
Moss, algae, or fungi may grow on lime-rendered surfaces, especially in damp environments. Solution: Clean the affected area with a soft brush and a mixture of water and vinegar or mild soap. Improve ventilation to reduce dampness and consider applying a biocide treatment to inhibit future growth.
Incorrect Mixing
Inconsistent or incorrect mixing proportions can lead to poor adhesion and durability. Solution: Follow precise mixing guidelines, ensuring the correct ratio of lime to sand and any additives. Conduct trial batches to test compatibility and adjust the mix as needed.
Substrate Compatibility
Adhesion problems may arise if the lime render is applied to an incompatible substrate. Solution: Ensure the substrate is suitable for lime rendering. Address any compatibility issues through proper surface preparation, priming, or using appropriate bonding agents.
By understanding and proactively addressing these common issues, practitioners can uphold the resilience and aesthetic quality of lime-rendered surfaces.
Regular maintenance, timely repairs, and an informed approach contribute to the enduring success of lime rendering as a construction technique.
Cost Considerations in Lime Rendering
Budgeting plays a pivotal role in the planning and execution of construction projects, making it essential to comprehensively understand the costs associated with different materials. In this section, we’ll break down the costs related to lime rendering, providing insights into the initial investment and the long-term cost-effectiveness of choosing lime as a rendering material.
1. Material Costs: Initial Investment: Lime render materials, including lime, sand, and any additives, contribute to the initial investment. The cost may vary based on the type of lime chosen (quicklime or hydrated lime), the quality of sand, and the additives selected for the mortar mix.
2. Labor Costs: Initial Investment: The skilled labor required for the application of lime render adds to the initial costs. Lime rendering demands expertise in surface preparation, mixing mortar, and achieving the desired finish.
3. Equipment and Tools: Initial Investment: Tools and equipment needed for lime rendering, such as hawks, trowels, floats, and sponges, contribute to the initial investment. High-quality tools ensure precise application and a professional finish.
4. Maintenance Costs: Long-Term Cost-Effectiveness: Lime render is known for its durability, potentially leading to lower long-term maintenance costs compared to some traditional rendering materials. Regular inspections, minor repairs, and occasional reapplications of lime wash contribute to the overall maintenance costs.
5. Energy Efficiency: Long-Term Cost-Effectiveness: Lime-rendered structures often demonstrate improved energy efficiency due to the breathability of lime, which regulates moisture and temperature. This can result in long-term cost savings on heating and cooling expenses.
6. Life Cycle Costs: Long-Term Cost-Effectiveness: Considering the longevity of well-executed lime rendering, the life cycle costs may prove to be economical. The initial investment, when spread across the extended lifespan of lime-rendered surfaces, may result in a cost-effective choice compared to materials that require more frequent repairs or replacements.
7. Aesthetic Longevity: Long-Term Cost-Effectiveness: Lime render maintains its aesthetic appeal over time, potentially reducing the need for frequent refurbishments or updates. The timeless charm of lime-rendered surfaces can be a cost-effective choice in terms of long-term aesthetics.
While the initial costs of lime rendering may vary based on factors such as materials, labor, and equipment, the long-term cost-effectiveness is influenced by the durability, low maintenance requirements, and energy-efficient properties of lime-rendered structures. Assessing both short-term expenses and long-term benefits allows builders to make informed decisions that align with project goals and budget considerations.
FAQs
Is lime rendering suitable for all types of surfaces?
Lime rendering is versatile and can be applied to various surfaces, but certain considerations should be taken into account. Consult with a professional for specific recommendations.
How often does lime render require maintenance?
The frequency of maintenance depends on factors such as climate and exposure. Generally, well-maintained lime render can last for several decades before requiring significant attention.
Is lime rendering more expensive than traditional rendering materials?
While the initial cost of lime rendering may be higher, the long-term durability and sustainability aspects can make it a cost-effective choice over time.
Author Profile

- I have many qualifications and certificates in construction, such as City & Guilds, CPCS and CITB. These are the highest standards of training and competence in the industry. Whether you need help with plumbing, carpentry, bricklaying or any other trade, I’m here to help you succeed.
Latest entries
- March 6, 2024CalculatorsWall Tile Calculator: How Many Wall Tiles Do You Need
- February 29, 2024Roof Truss Cost Calculator
- December 31, 2023Wage Take Home Calculator
- December 30, 2023Day Rate Calculator

