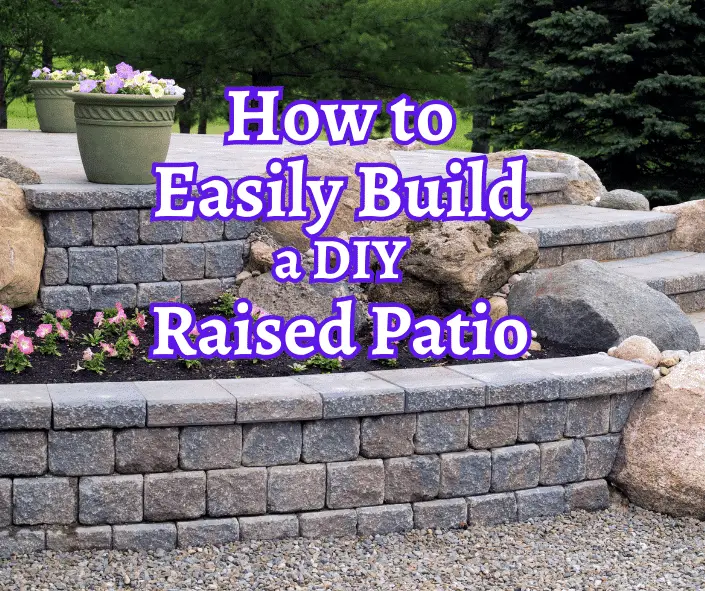
A DIY raised patio can be an excellent addition to your backyard, providing a functional and attractive area for entertaining, relaxing, or dining.
Are you looking for a way to enhance your outdoor space?
While the prospect of building a raised patio may seem daunting at first, with the right tools, materials, and guidance, it can be a relatively easy DIY project.
In this article, we will guide you through the steps to build a raised patio, from planning and design to construction and finishing touches.
Planning and Designing Your Raised Patio
Before you start building your raised patio, there are several essential things to consider:
- Determine the size and location of your patio area.
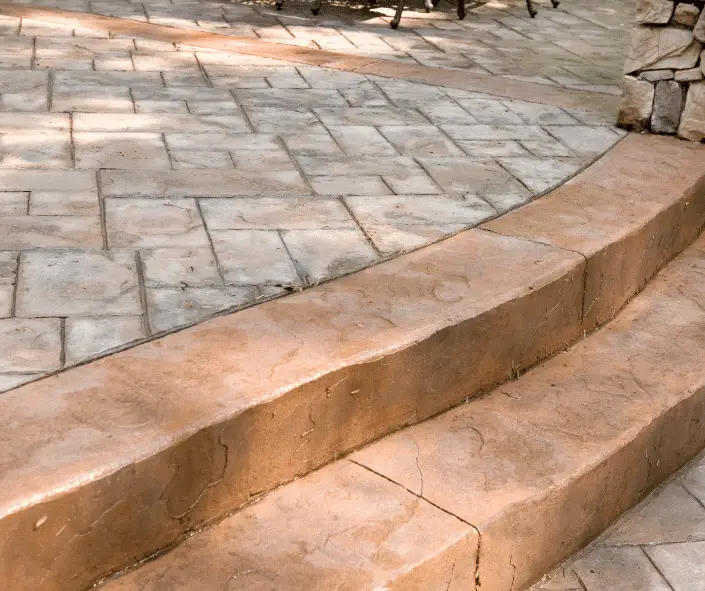
- Decide on the type of materials you will use, such as natural stone, brick pavers, or wall blocks.
- Consider the purpose of your raised patio and whether you will need additional features such as an outdoor kitchen, water features, or planter boxes.
- Check with your local building department for any necessary permits or building codes.
- Calculate the amount of materials required for your patio based on the size and depth of your patio area.
Once you have a clear idea of your patio’s design and dimensions, you can move on to the next step of building your raised patio.
Preparing the Base and Footings

The key to building a durable and stable raised patio is to create a firm base and adequate footings. Here are the steps to follow:
- Excavate the area to the required depth, which typically ranges from 8 to 12 inches.
- Create a base trench by digging a wider and deeper trench around the perimeter of your patio area.
- Add 2-3 inches of hardcore to the base trench and compact it with a heavy plate compactor.
- Install a layer of landscaping fabric over the gravel to prevent weeds from growing through.
- Add 4-5 inches of fill material, such as crushed stone or gravel, and compact it with a plate compactor.
- Use a line level and string lines to ensure that your base is level and has a slight slope away from the house to allow for proper drainage.
- Install a drain pipe to direct water away from your patio area.
- Pour concrete footings at each corner and at intervals along the perimeter wall. The required depth and width of the footings will depend on the size and height of your raised patio.
Building the Patio Walls
Once you have prepared the base and footings, you can start building the walls of your raised patio. Follow these steps:
- Lay the first course of wall blocks or bricks level with the top of the footing.
- Use a rubber mallet and a piece of wood to ensure that each block is level and in place.
- Continue laying the wall blocks or bricks, making sure that each course is level and staggered from the previous course for added stability.
- Install a ledger board to the house’s side, ensuring that it is level and securely fastened to the house’s rim joist.
- Install the rim joist on the opposite side of the patio area.
- Attach additional courses of wall blocks or bricks until you reach the desired height for your raised patio.
Installing the Patio Surface

With the patio walls in place, you can now install the patio surface. Here’s how:
- Add 1 inch of coarse paver sand over the base of your raised patio.
- Level the sand using a piece of wood and a level.
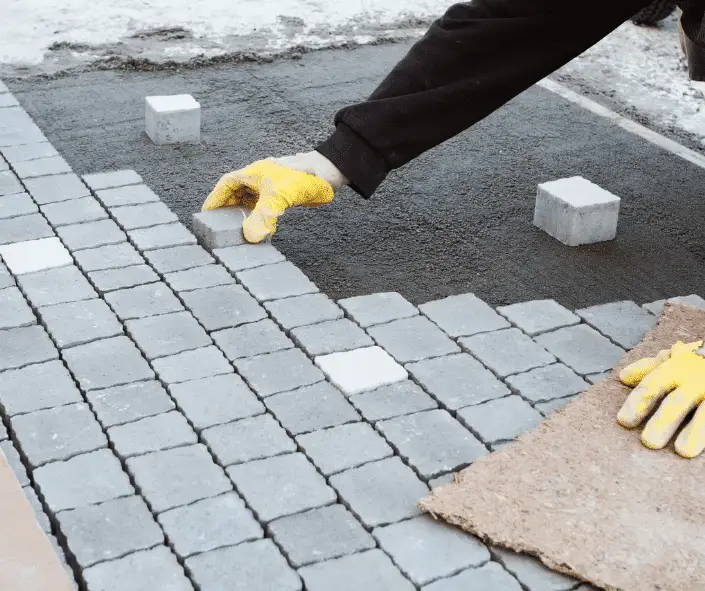
- Start laying your patio pavers or stones, ensuring that they are level and snugly fit together.
- Continue laying the patio pavers or stones until you have covered the entire area.
- Add a layer of top soil or planting mix around the perimeter of your raised patio to create a garden bed or to add plants and flowers for a decorative touch.
How to Lay Block Paving | The Ultimate Guide
Finishing Touches
To complete your DIY raised patio project, there are a few final steps you can take:
- Use a line level to ensure that the sides of the retaining wall meet.
- Add a layer of bricks level with the top of the wall blocks to create a finished edge.
- Install deck boards or composite decking materials to create a raised deck around your patio area.
- Add an outdoor dining table, chairs, or other furniture to create a functional outdoor space.
- Consider adding water features, lighting, or other decorative elements to enhance the overall look of your raised patio.
Benefits of a DIY Raised Patio
Building a DIY raised patio has several benefits, including:
- Cost-effective: DIY projects typically cost less than professional installation, allowing you to save money while still creating a functional and attractive outdoor space.
- Low maintenance: A raised patio requires minimal maintenance, making it a practical and convenient addition to your backyard.
- Customizable: With a DIY raised patio, you have complete control over the design and materials, allowing you to create a patio that perfectly fits your style and needs.
- Increased home value: A well-built raised patio can increase the value of your home, making it a worthwhile investment.
The Cost of a Raised Patio
Here’s a general breakdown of the things that can affect the cost of a patio:
- Size: The larger the size of your patio, the more materials and labor will be required, increasing the overall cost.
- Materials: The choice of materials will have a significant impact on the cost. Some common materials for raised patios include concrete, natural stone, brick, and wood. Concrete slabs are typically the most cost-effective option, while natural stone and brick tend to be more expensive.
- Location: The accessibility of the site and the ease of bringing in materials and equipment can affect the cost. If your site is difficult to access, labor costs may be higher due to the extra time and effort required.
- Labor costs: The cost of labor can vary depending on your region and the contractor you choose. Always get multiple quotes and compare the rates and quality of work offered by different contractors.
- Design complexity: A simple, rectangular patio will be less expensive than a patio with curves, multiple levels, or other design features such a walls that require more labor and materials and have a significant affect of the price of a raised patio.
- Extras: Additional features such as walls, built-in seating, planters, lighting, or a pergola can add to the overall cost.
You can calculate the cost of a new patio by using our Patio cost calculator
Given these factors, the cost of building a raised patio can range from £60 to £150 per square meter or more. A simple concrete slab raised patio may cost around £60 per square meter , while a patio made with more expensive materials or a complex design may cost £150 per square meter or even higher. Keep in mind that these are general estimates and actual costs may vary depending on your specific circumstances.
To get a more accurate estimate for your raised patio project, it’s best to consult with a professional contractor, who can assess your needs and provide a tailored quote based on your preferences and budget.
Here are some additional tips and considerations to keep in mind when building a DIY raised patio:
- When choosing your patio materials, consider the climate and weather in your area. For example, if you live in an area with frequent freeze-thaw cycles, natural stone may not be the best choice, as it can crack and chip in extreme temperatures.
- If you’re unsure about the depth and width of the footings required for your raised patio, consult a local contractor or engineer for guidance. A fundamental lack of understanding of engineering principles can lead to a structurally unsound patio that may pose a safety risk.
- To reduce labor costs, consider enlisting the help of friends or family members to assist with the project. You can also search for step-by-step videos online to guide you through each stage of the process.
- If you’re planning to add an outdoor kitchen or other heavy features to your raised patio, you may need to reinforce the walls or footings to support the extra weight. Check with a local contractor or engineer to determine the best course of action.
- To minimize erosion and hydrostatic pressure, install a perimeter wall around your patio area using wall blocks or bricks. This will help prevent soil from washing away and causing damage to your patio.
- When installing the patio surface, use a rubber mallet and a level to ensure that each paver or stone is level and properly seated. This will prevent tripping hazards and ensure a smooth, even surface.
- Before beginning your DIY raised patio project, check the boundaries of your property and make sure you’re not encroaching on a neighbor’s land. This can prevent disputes and legal issues down the line.
Conclusion
In conclusion, building a DIY raised patio can be a satisfying and rewarding project that adds both beauty and functionality to your outdoor space. By following these step-by-step instructions and taking the necessary precautions, you can easily build your own raised patio and enjoy the final product for years to come.
Author Profile

- I have many qualifications and certificates in construction, such as City & Guilds, CPCS and CITB. These are the highest standards of training and competence in the industry. Whether you need help with plumbing, carpentry, bricklaying or any other trade, I’m here to help you succeed.
Latest entries
- March 6, 2024CalculatorsWall Tile Calculator: How Many Wall Tiles Do You Need
- February 29, 2024Roof Truss Cost Calculator
- December 31, 2023Wage Take Home Calculator
- December 30, 2023Day Rate Calculator

