DIY Spray Foam Attic Insulation: Boost Your Home’s Energy Efficiency and Save on Energy Costs
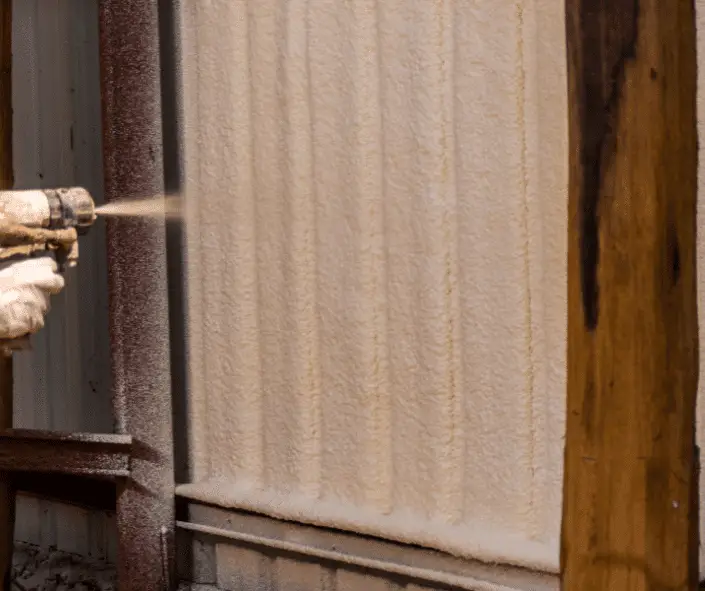
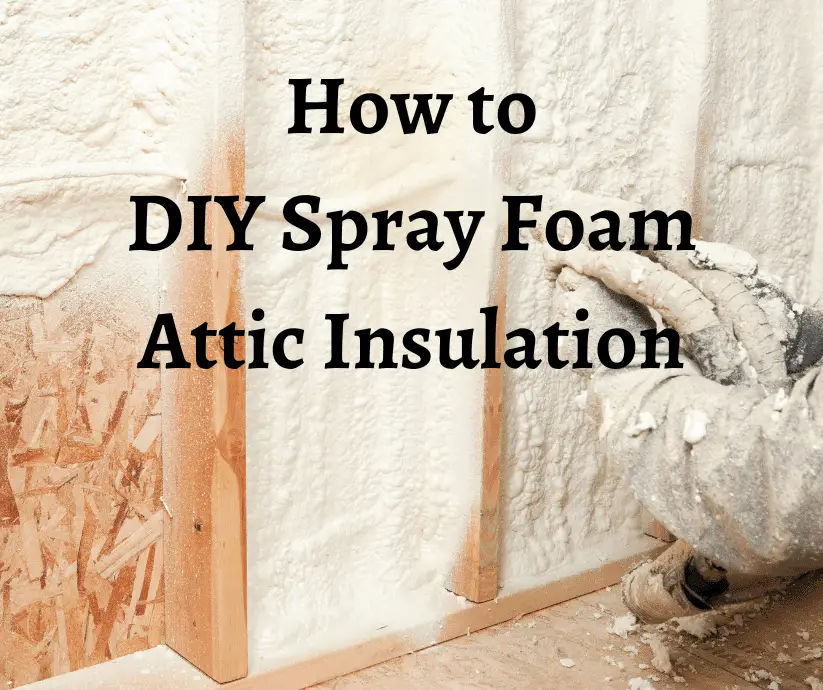
DIY Spray foam insulation is a popular choice for homeowners seeking to improve their home’s energy efficiency and reduce monthly energy bills. DIY spray foam insulation kits make it possible to insulate your attic and other areas, such as crawl spaces and rim joists, without the need for professional installers. In this article, we’ll explore the benefits of DIY spray foam attic insulation and provide a step-by-step guide to help you achieve a properly insulated attic.

Understanding the Different Types of Insulation
When it comes to attic insulation, there are various options to choose from, including fiberglass batts, mineral wool, cellulose insulation, and spray foam. Spray foam insulation is an excellent choice for sealing air leaks, providing high thermal resistance, and improving your home’s energy efficiency. There are two main types of spray foam: open-cell and closed-cell foam. Open-cell foam is lighter and less expensive but has a lower R-value per inch of thickness. Closed-cell foam offers a higher R-value and is more suitable for cold climates and larger areas.
Evaluating Spray Foam Insulation Costs and Savings
Spray foam insulation costs more upfront than traditional insulations, such as fiberglass batts and loose-fill insulation. However, the energy savings and reduced air infiltration often make it a worthwhile investment. DIY spray foam insulation kits cost less than hiring an insulation contractor, and doing the job yourself can save on labor costs. For small projects and targeted insulation needs, gun foams and spray foam sealant can be more cost-effective.
Preparing Your Attic for DIY Spray Foam Insulation
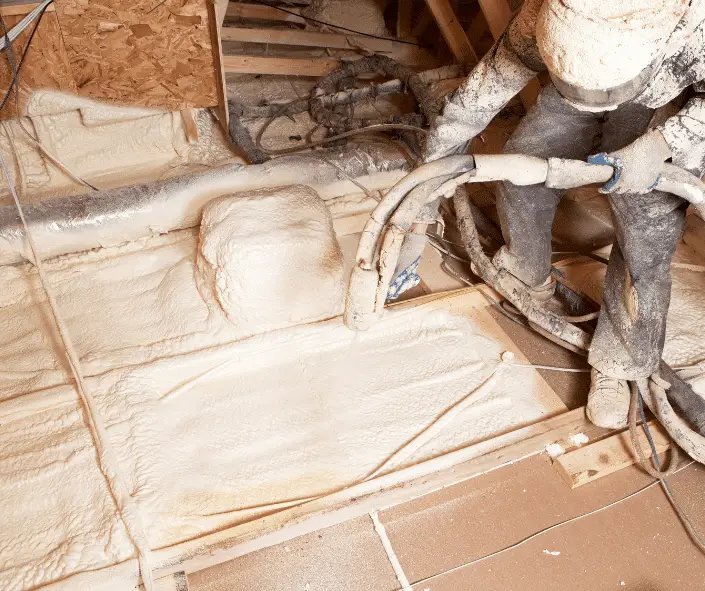
Proper prep work is essential for a successful DIY spray foam attic insulation project. First, inspect your attic and remove any old or damaged insulation. Seal any air leaks and gaps around attic hatch doors, top wall plates, and the edge of the attic using a bead of foam sealant. Cover any electrical fixtures, wiring, and interior walls with plastic sheeting or drop cloths to protect them from overspray.
Selecting the Right DIY Foam Insulation Kit
Choose a DIY foam insulation kit based on the size of your project and the type of insulation you need. Tiger Foam, for example, offers both open-cell and closed-cell foam options. Calculate the required amount of foam based on the square footage of your attic floor and the desired R-value. One board foot (a 12×12 inch area with 1-inch thickness) of spray foam typically covers one square foot of surface area.
Applying DIY Spray Foam Attic Insulation

When using DIY spray foam kits, follow these steps to ensure proper insulation:
- Put on safety gear, including eye protection, gloves, long sleeves, pants, and a respirator mask.
- Test the spray foam on a scrap piece of material to get a feel for the spray pattern and consistency.
- Start at the farthest point from the attic entrance and work your way back.
- Apply the foam in a consistent, even layer, maintaining a steady speed and motion.
- Fill the cavities between the attic joists, but avoid overfilling, as the foam will expand.
Curing and Trimming the Foam
Concrete Curing Everything You Need to Know
Allow the foam to cure for about 24 hours, depending on the product and environmental conditions. Use a utility knife or foam saw to trim away any excess foam, creating a smooth, even surface.
Inspecting Your DIY Spray Foam Attic Insulation
Inspect your work for gaps or uneven coverage, applying additional foam if necessary. An adequately insulated attic can reduce heating and cooling costs, increase living space comfort, and contribute to overall energy savings
Ensuring Proper Ventilation in Your Attic
Proper ventilation is crucial for maintaining a healthy attic space and preventing moisture-related issues, such as mold and mildew growth. Ensure that your attic has adequate ventilation by installing or maintaining soffit vents, ridge vents, or gable vents. Do not block these vents with insulation, as it can disrupt the natural airflow and lead to moisture problems.
Evaluating the Effectiveness of Your DIY Spray Foam Attic Insulation
After completing the DIY spray foam attic insulation project, monitor your monthly energy bills and compare them to previous bills to determine if there are any noticeable savings. A properly insulated attic should result in reduced energy costs, improved comfort in your living space, and less strain on your heating and cooling systems. If you do not see significant energy savings or notice issues such as drafts or uneven temperatures, consider having a home inspection to identify potential problems.
Knowing When to Hire a Professional
While DIY spray foam attic insulation can be an excellent option for small jobs and cost-conscious homeowners, it might not be the best choice for everyone. If you are inexperienced with insulation work, have a large or complex attic, or are uncomfortable handling the chemicals involved in the spray foam process, hiring a professional insulation contractor with years of experience might be a good idea. Additionally, some home insurance policies may require professional installation of insulation materials, so be sure to check your policy before taking the DIY route.
Other Choices For DIY Attic Insulation

There are several other choices for DIY attic insulation that can help improve your home’s energy efficiency and comfort. Each type of insulation has its advantages and disadvantages, so consider your specific needs, budget, and climate before making a decision. Here are some common alternatives to spray foam insulation:
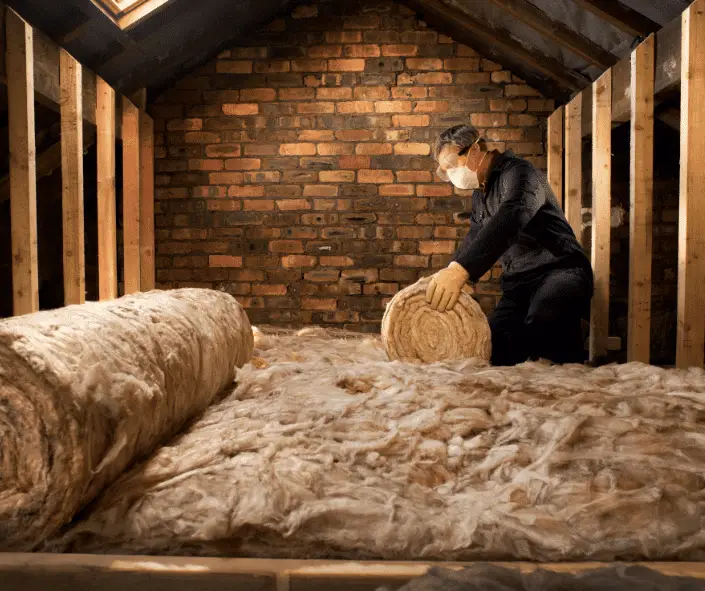
- Fiberglass Batts: Fiberglass batts are pre-cut insulation rolls made from fine glass fibers. They are easy to install, relatively inexpensive, and widely available. To install fiberglass batts, simply roll them out between the attic joists and cut them to fit snugly. Be sure to wear protective gear, as the fibers can be irritating to the skin and lungs.
- Blown-in Fiberglass or Cellulose: Blown-in insulation consists of small particles of fiberglass or cellulose that are blown into the attic using a specialized machine. This type of insulation provides excellent coverage, especially in hard-to-reach areas. Renting an insulation blower and purchasing the insulation material can be cost-effective for DIYers.
- Mineral Wool: Also known as rock wool or slag wool, mineral wool insulation is made from natural minerals and recycled materials. It is available in batts or loose-fill form and has excellent fire resistance and soundproofing qualities. Mineral wool can be more expensive than fiberglass but is easy to install and eco-friendly.
- Rigid Foam Boards: Rigid foam boards are made of polystyrene, polyisocyanurate, or polyurethane and provide a high R-value per inch of thickness. They are lightweight, easy to cut, and can be installed between attic joists or on the attic floor. Rigid foam boards are more expensive than some other insulation types but offer excellent thermal performance and moisture resistance.
- Reflective or Radiant Barrier Insulation: Reflective insulation consists of a reflective foil material that helps to reduce heat transfer by reflecting radiant heat away from your living space. It is typically installed on the underside of the attic roof, making it an excellent choice for hot climates. Reflective insulation is not as effective at insulating against cold temperatures, so it may not be the best choice for all climates.
When choosing the best type of insulation for your DIY attic insulation project, consider factors such as ease of installation, cost, R-value, and your home’s specific needs. No matter which type of insulation you choose, proper installation is crucial to achieving optimal energy savings and comfort in your living space.
Pros and Cons of DIY Spray Foam Insulation Compared to Other Types of Insulation
| Insulation Type | Pros | Cons |
|---|---|---|
| DIY Spray Foam | Excellent air sealing and thermal performance | Higher upfront cost; Requires protective gear and proper application |
| Expands to fill gaps and hard-to-reach areas | Chemicals involved; May be challenging for first-time users | |
| Fiberglass Batts | Easy to install; Widely available; Affordable | Lower R-value per inch; May leave gaps; Can be itchy to work with |
| Blown-in Fiberglass or | Good coverage in hard-to-reach areas; Can be cost-effective | Requires specialized equipment; Can settle over time, reducing R-value |
| Cellulose | Eco-friendly (cellulose is made from recycled materials) | |
| Mineral Wool | Fire-resistant; Excellent soundproofing; Eco-friendly | More expensive than fiberglass; Heavier to work with |
| Rigid Foam Boards | High R-value per inch; Lightweight; Moisture-resistant | More expensive than some other types; May require additional air sealing |
| Reflective or Radiant | Effective at reducing heat transfer in hot climates | Not as effective for cold temperatures; Limited insulation value |
| Barrier Insulation | Easy to install |
Each insulation type has its advantages and disadvantages, so it’s essential to consider your specific needs, budget, and climate when choosing the right insulation material for your DIY attic insulation project.
Conclusion
DIY spray foam attic insulation is an effective way to improve your home’s energy efficiency and save on energy costs. By following the steps outlined in this guide, you can successfully insulate your attic and enjoy the benefits of reduced air leakage, increased thermal resistance, and a more comfortable living space. However, if you are unsure of your ability to complete this DIY project or have concerns about your home’s specific insulation needs, hiring a professional installer may be the best choice for achieving optimal results.
Author Profile

- I have many qualifications and certificates in construction, such as City & Guilds, CPCS and CITB. These are the highest standards of training and competence in the industry. Whether you need help with plumbing, carpentry, bricklaying or any other trade, I’m here to help you succeed.
Latest entries
- March 6, 2024CalculatorsWall Tile Calculator: How Many Wall Tiles Do You Need
- February 29, 2024Roof Truss Cost Calculator
- December 31, 2023Wage Take Home Calculator
- December 30, 2023Day Rate Calculator

